The Bagisto Tabby Payment Gateway Module enables customers to integrate Tabby’s Buy Now, Pay Later (BNPL) payment solution into their Bagisto eCommerce Store. Customers can split their purchases into 4 interest-free installments.
Admin can easily connect Bagisto store with Tabby payment gateway using merchant code and API key.
Customers can pay in 4 interest-free installments at checkout without leaving your site, for a smoother purchasing experience and higher conversion rates.
Please Note – Before purchasing this module, you should check whether Tabby payment is available for your country and currency or not. Tabby currently operates in AED (UAE Dirham) and supports GCC debit/credit cards including MADA.
- Admin can Enable or Disable the extension.
- Admin can set Custom Description and Title for payment method.
- Customers can pay in 4 interest-free installments via Tabby’s BNPL solution.
- Provide a secure payment method for customers with a hosted checkout page.
- Admin can set sandbox keys to test payment gateways.
- Admins can process full refunds via the Tabby dashboard.
- Refunds can also be made from the Bagisto admin panel.
- Automatic webhook registration for sandbox and production environments.
- Handling asynchronous payment notifications via IPN/webhook.
- Promotional widgets on product page and cart page show installment details.
- The TabbyCard widget at checkout shows the payment schedule.
- Supports AED currency only — ensuring compliance with Tabby regional availability.
- Buyer risk assessments with order history are sent to Tabby for real-time approval.
Installation – Bagisto Tabby Payment Gateway
Unzip each zip extension and then combine the “packages” and “public” folders into the project root directory.
Go bootstrap/provider.php file and add the following line under ‘provider’.
use Webkul\TabbyPayment\Providers\TabbyPaymentServiceProvider;
return [
    TabbyPaymentServiceProvider::class,
]
Next, open the composer.json file and add the following line under ‘psr-4’
"Webkul\\TabbyPayment\\": "packages/Webkul/TabbyPayment/src"
In the config/bagisto-vite.php file, add the following line under the ‘viters’ section:
    'tabbypayment' => [
        'hot_file'                 => 'tabbypayment-vite.hot',
        'build_directory'          => 'themes/tabbypayment/build',
        'package_assets_directory' => 'src/Resources/assets',
    ],
Run the command below to complete the setup:
composer dump-autoload
php artisan optimize:clear
php artisan migrate
php artisan vendor:publish --provider="Webkul\TabbyPayment\Providers\TabbyPaymentServiceProvider" --force
Initial Configuration – Settings
Once you successfully execute the command, you will see Tabby Payments by navigating Configure → Payment Method → Cat Pay.
Here, the store admin will be able to configure the initial settings –
- Status:- Enable or disable this module by using the toggle button.
- Title:- Set the title that will appear on the front of the payment method at checkout.
- Information:- Enter the description they want to appear on the checkout page for the Tabby payment method.
- Merchant Code:- Enter the merchant code provided by Tabby for your store account.
- Live Mode:- Switch between Sandbox (test) and Live (production) environments.
- Direct Public Key:- Enter your production public key from the Tabby Dashboard (visible when Live Mode is enabled).
- Live Secret Key:- Enter your production secret key from the Tabby Dashboard (visible when Live Mode is enabled).
- Public Key Test:- Enter your sandbox public key from the Tabby Dashboard for testing purposes.
- Secret Key Test:- Enter your sandbox secret key from the Tabby Dashboard for testing purposes.
- Sort Order:- Set the sort order so that payment methods will appear on the payment page in the sort order entered.
After setting all the configurations, click the Save button.
Storefront Workflow – Bagisto Tabby Payment Gateway
Once you have successfully added products to your cart, tap the Proceed to Checkout button.

Now, select the shipping address and tap the Confirm button.

After that, select Cat Pay method under the payment methods section. You will see a TabbyCard widget that displays installment details (pay in 4 payments without interest).
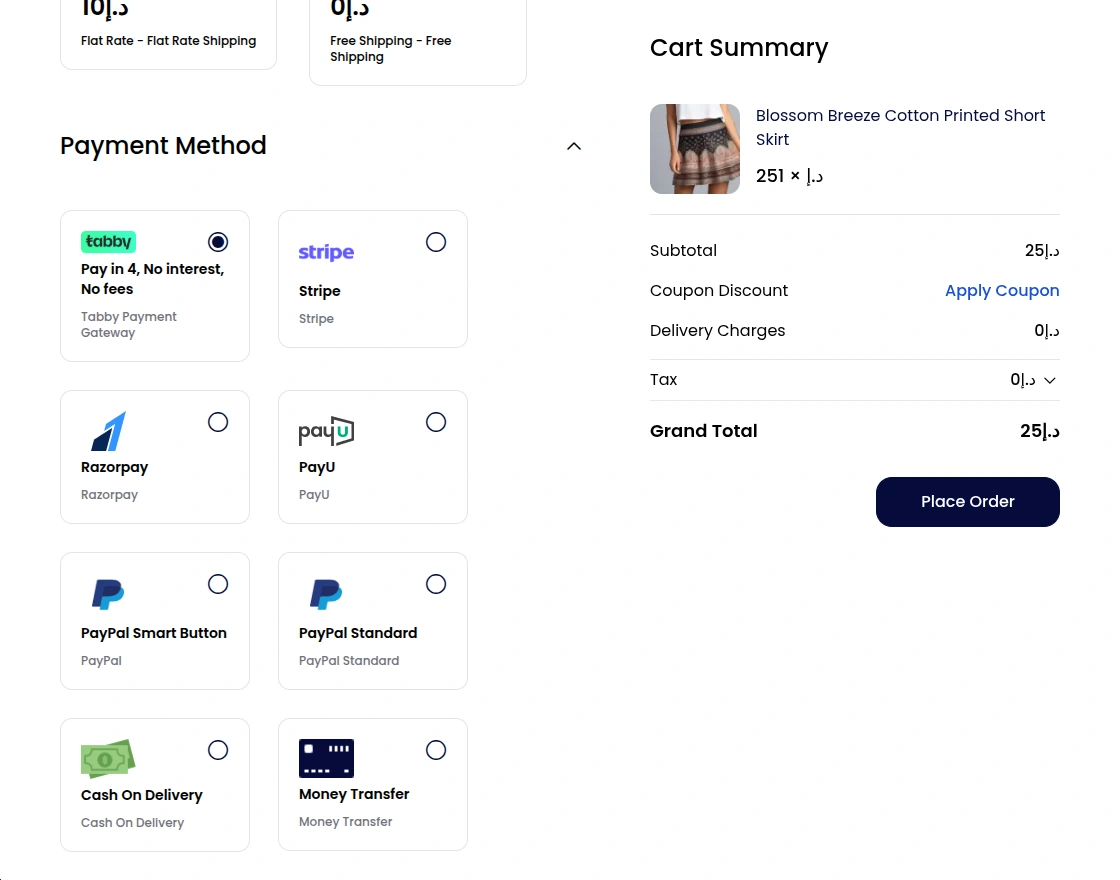
After selecting a Tabby payment method, customers can click Place Order knob.
Customers will then be directed to a Tabby-hosted payment page, where they can select their desired installment plan and complete payment.
After successful payment via Tabby, the customer will be redirected back to your store with a success confirmation and order ID.

Customers can check the order status and selected payment gateway in their order history.

Customers can also check the payment method selected on their order invoice.
On product pages and cart pages, Tabby promotional widgets display the message “Pay in 4,” showing customers how much they will pay per installment.
Order Details – Backend Admin
Admin can view individual orders and can see the payment method selected for that order.
Additionally, admins can see the payment gateway selected for an order by opening it.
Admin can also view payments on orders placed through Tabby payment gateway in Tabby dashboard and also generate refunds from there.
That’s all for the Bagisto Tabby Payment Gateway. Still having problems? Feel free to add a ticket and let us know your views to make this module better at Bagisto.uvdesk.com
Current Product Version – v2.4.1
Supported Framework Version – v2.4.1

PakarPBN
A Private Blog Network (PBN) is a collection of websites that are controlled by a single individual or organization and used primarily to build backlinks to a “money site” in order to influence its ranking in search engines such as Google. The core idea behind a PBN is based on the importance of backlinks in Google’s ranking algorithm. Since Google views backlinks as signals of authority and trust, some website owners attempt to artificially create these signals through a controlled network of sites.
In a typical PBN setup, the owner acquires expired or aged domains that already have existing authority, backlinks, and history. These domains are rebuilt with new content and hosted separately, often using different IP addresses, hosting providers, themes, and ownership details to make them appear unrelated. Within the content published on these sites, links are strategically placed that point to the main website the owner wants to rank higher. By doing this, the owner attempts to pass link equity (also known as “link juice”) from the PBN sites to the target website.
The purpose of a PBN is to give the impression that the target website is naturally earning links from multiple independent sources. If done effectively, this can temporarily improve keyword rankings, increase organic visibility, and drive more traffic from search results.