Odoo BPoint Payment Acquirer helps businesses accept secure online payments from website checkout using BPoint hosted payment pages.
Customers are redirected to a secure payment page hosted by Commonwealth Bank to securely complete card payments. This module supports real-time payment updates and secure transaction handling.
Odoo BPoint Payment Acquirer also supports Sandbox and Production environments. Businesses can test payment workflows before accepting live customer payments.
- Securely hosted checkout via the Commonwealth Bank payments page
- Support for Visa, Mastercard and other secure card payments
- Real-time payment status updates in backend transaction records
- Separate Test environments and direct payments for secure testing
- Automatic payment confirmation after the payment process is successful
- Multi-currency payment support based on merchant account settings
- Secure payment communication between the website and the BPOINT service
- Centralized backend tracking for all payment transactions
- Automatic creation of payment records after successful transactions
- Once you purchase the App from Webkul store, you will receive a link to download zip module submit.
- Extract the files on your system once the download is complete. As a result, you will be able to see a folder named ‘wk_payment_bpoint‘.
- Copy and paste this folder inside your folder Odoo Add-ons Path.
- Now, open the Odoo Application and click on the Settings menu. Here, click Enable Developer Mode.
- Then, open the Application menu and click ‘Update Module List.’
- In the search bar, clear all filters and search for ‘wk_payment_bpoint‘.
- You will be able to see the module in the search results. Click on ‘Activate‘ to install it.
Configuration of Odoo BPoint Payment Acquirer
1. Go to Website → Configuration → Payment Provider and open it BPOINT payment provider.
Set the provider status to Active or Test Mode, add the BPOINT API Username, API Password, and Merchant Number, then save the settings to activate the payment provider.
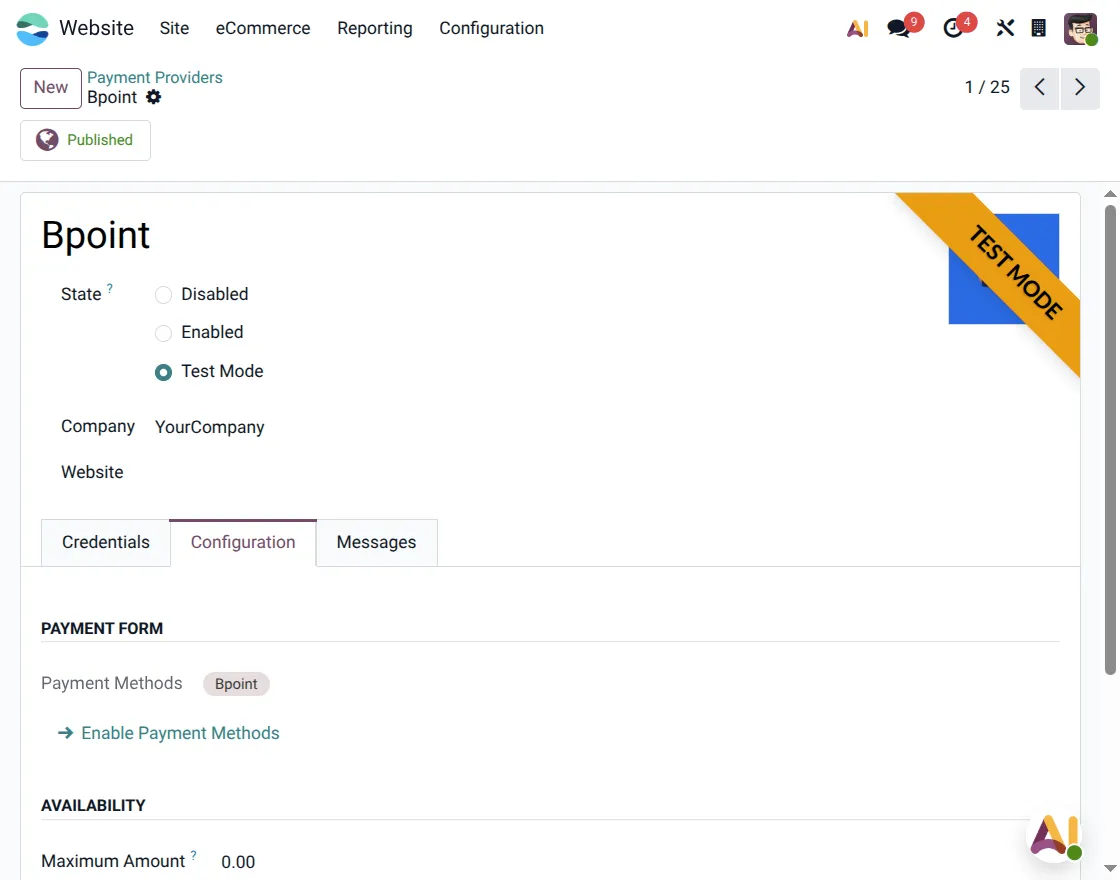
2. Open Configuration tab in BPOINT payment provider. Enable the required payment methods and configure payment settings for website checkout transactions.
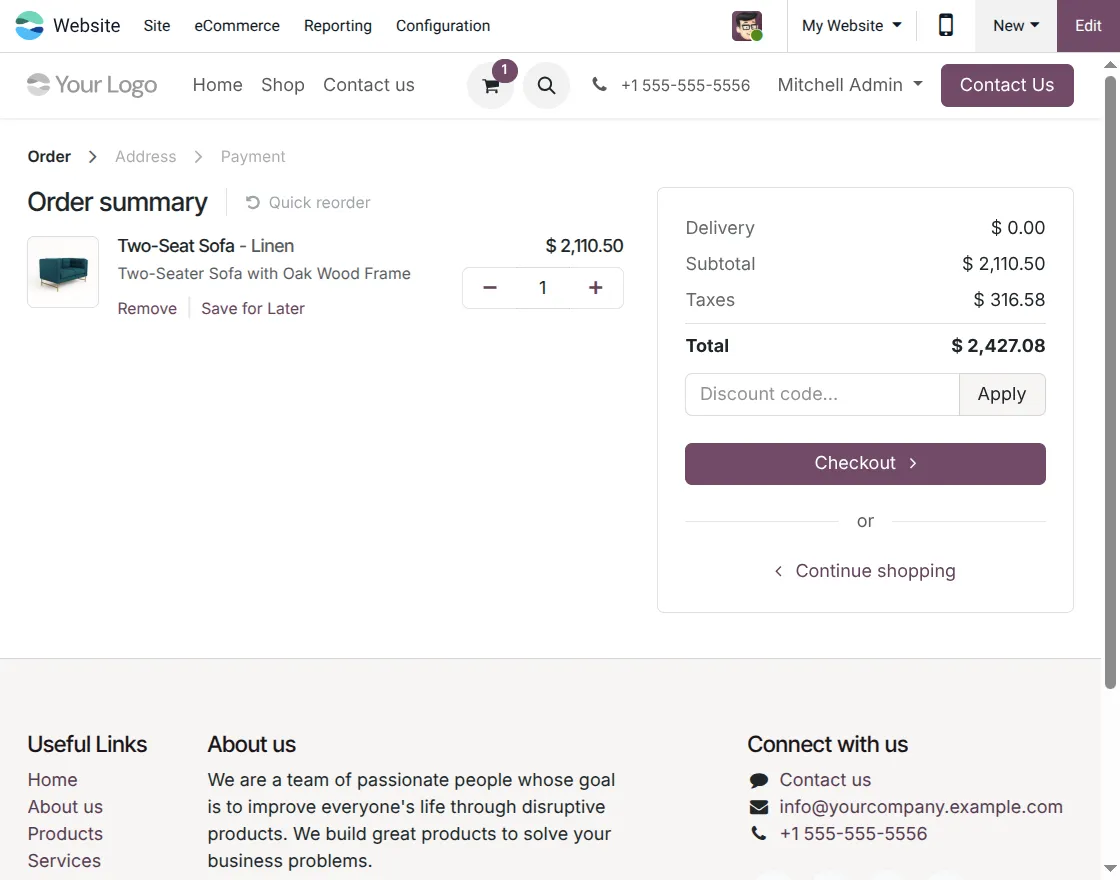
3. Add the product to the basket and proceed to the website checkout page. Customers can review the order summary before selecting a payment method.
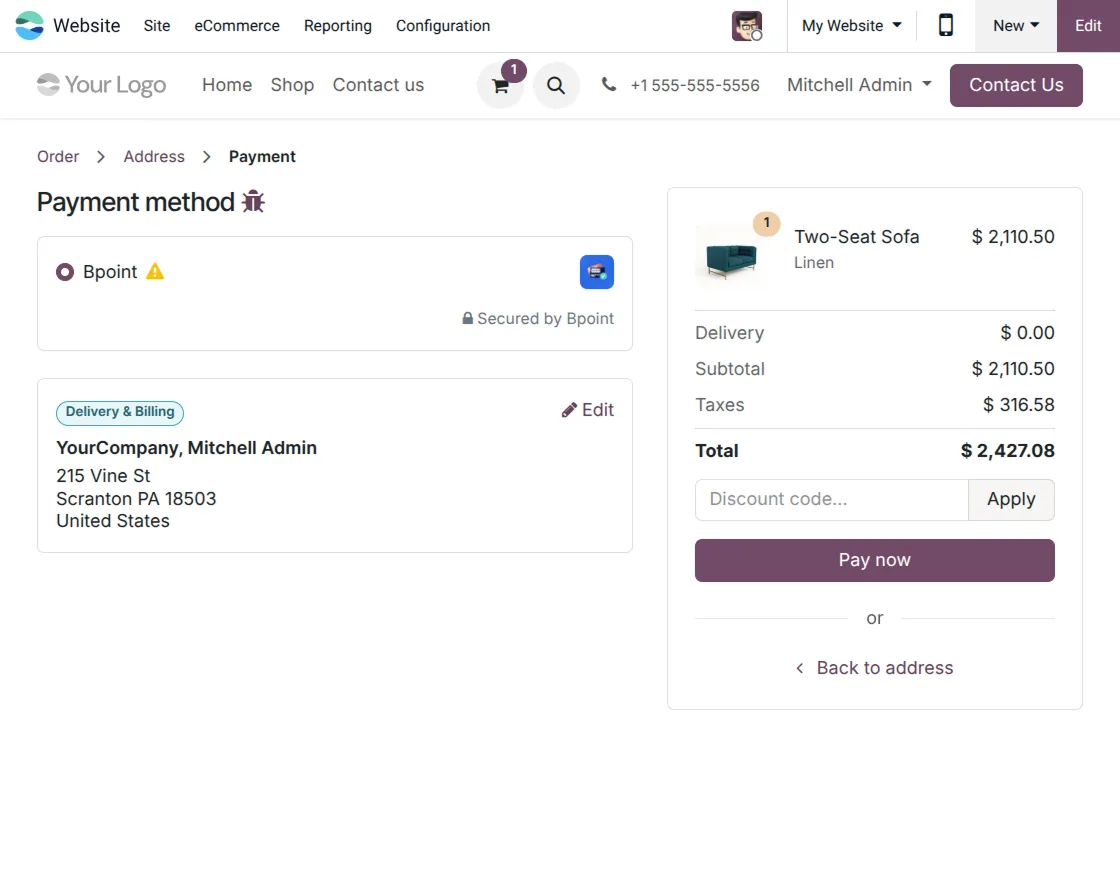
4. Select POINT from the payment methods available on the checkout payment page. Then click the Pay Now button to proceed to the secure payment page.
5. Customers will be redirected to a secure payment page hosted by Commonwealth Bank after clicking Pay Now. They can enter their card details securely and continue the payment process.
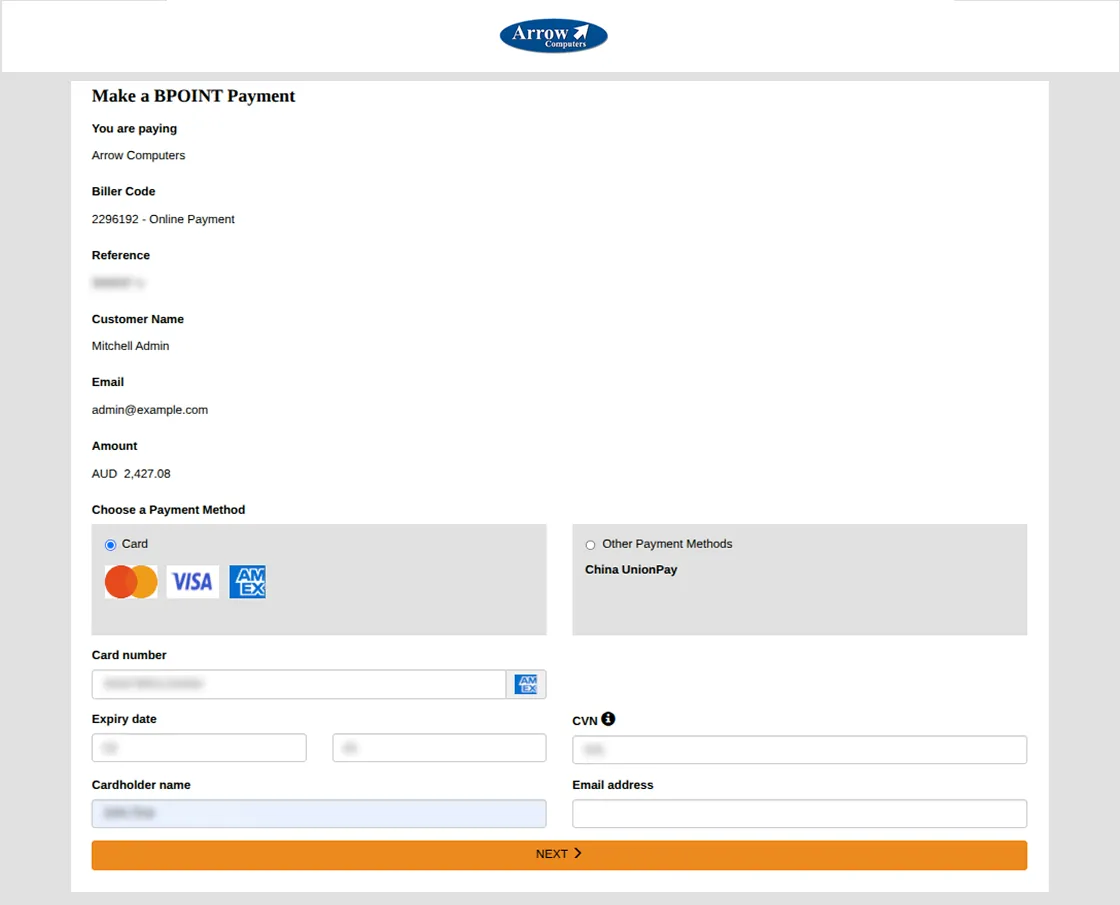
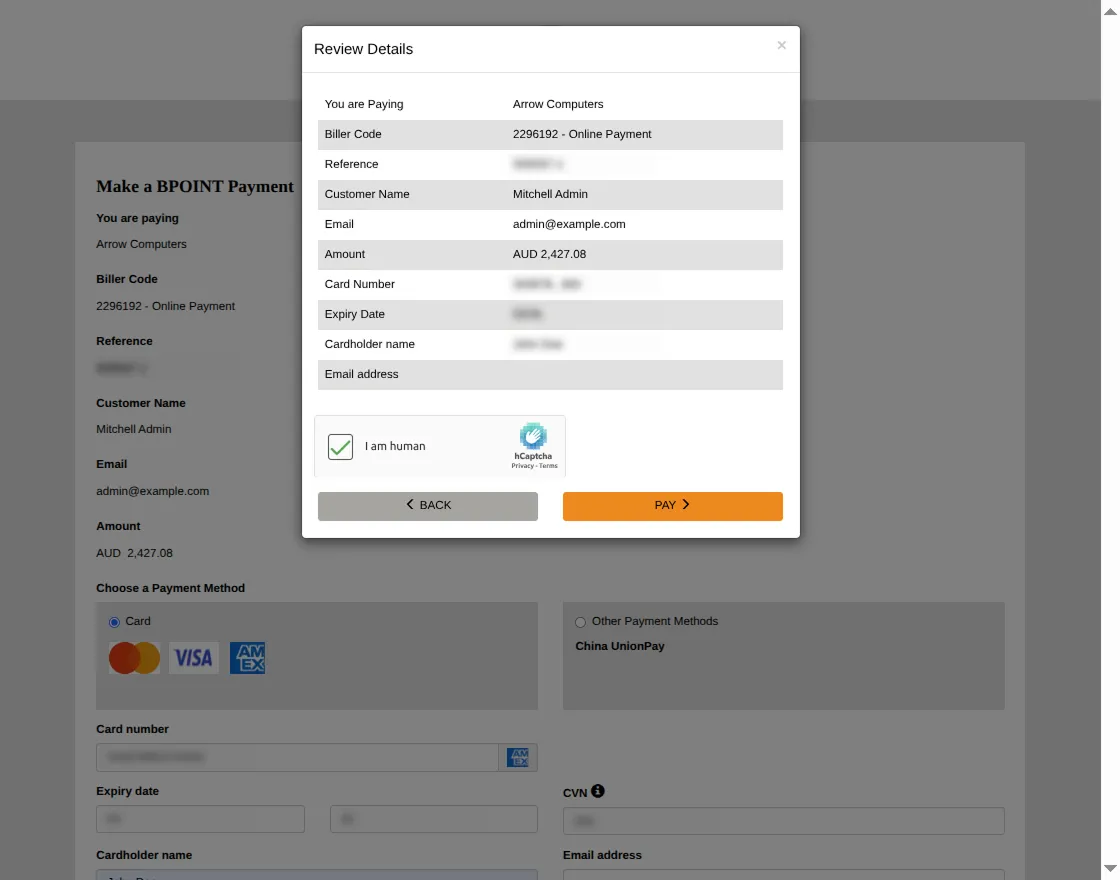
6. Customers can review payment details before confirming the transaction. After checking the details, click the Pay button to complete the payment safely.
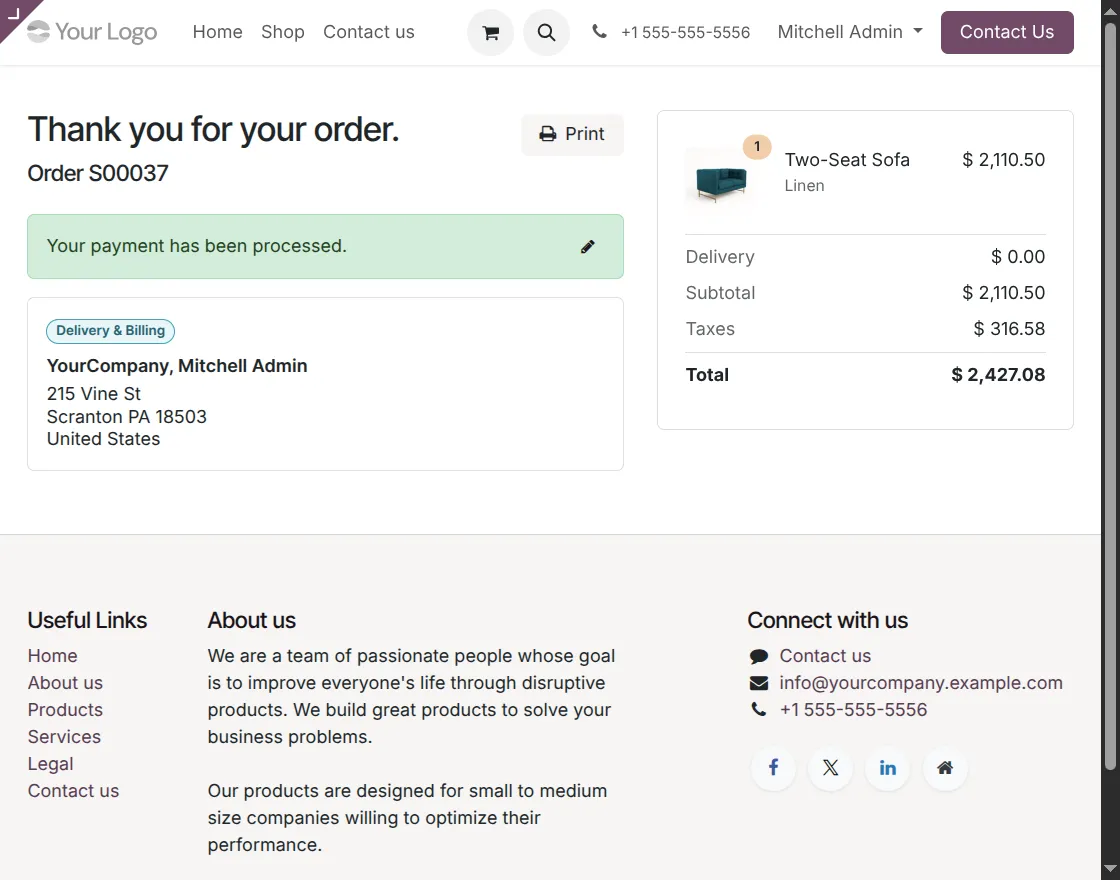
7. After the payment process is successful, the customer is directed back to the website automatically. That order confirmation The page shows a successful payment message and order details.
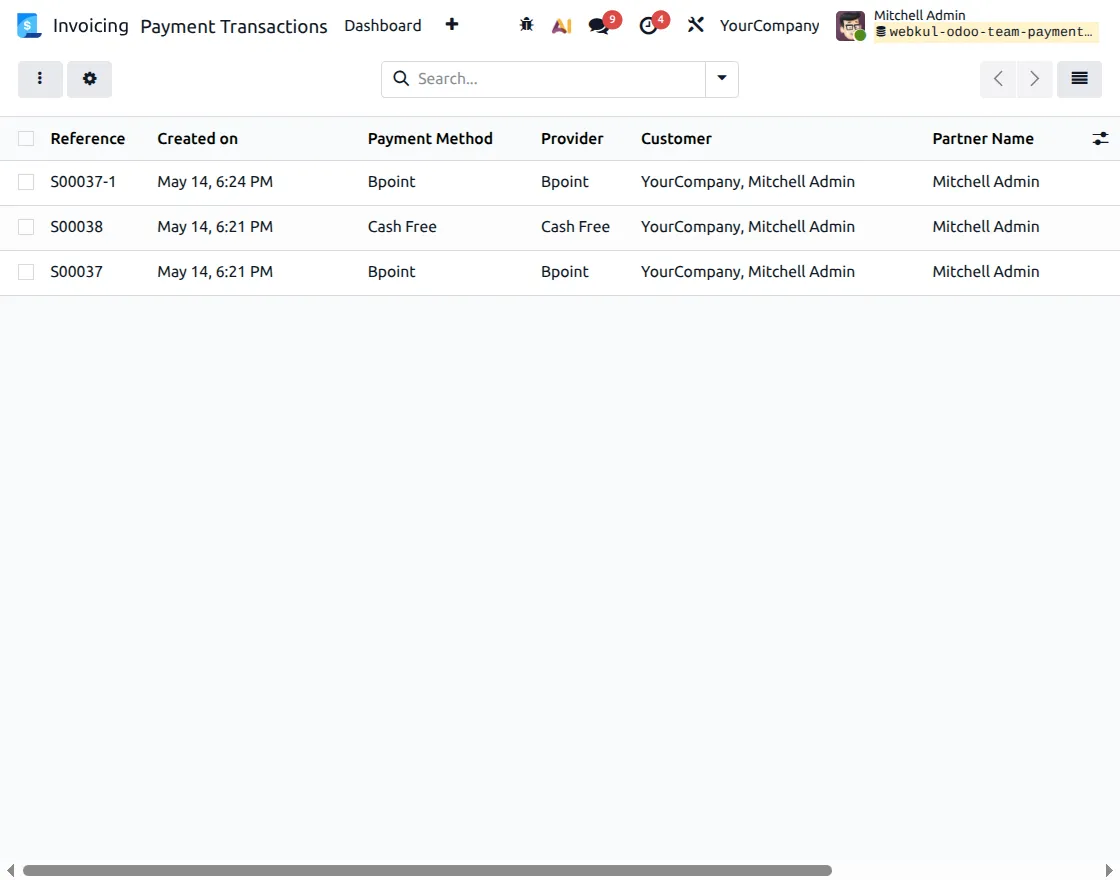
8. Go to Invoice → Payment Transaction to view all BPOINT payment records. Admin can track transaction references, payment methods, customer details and payment status from one place.
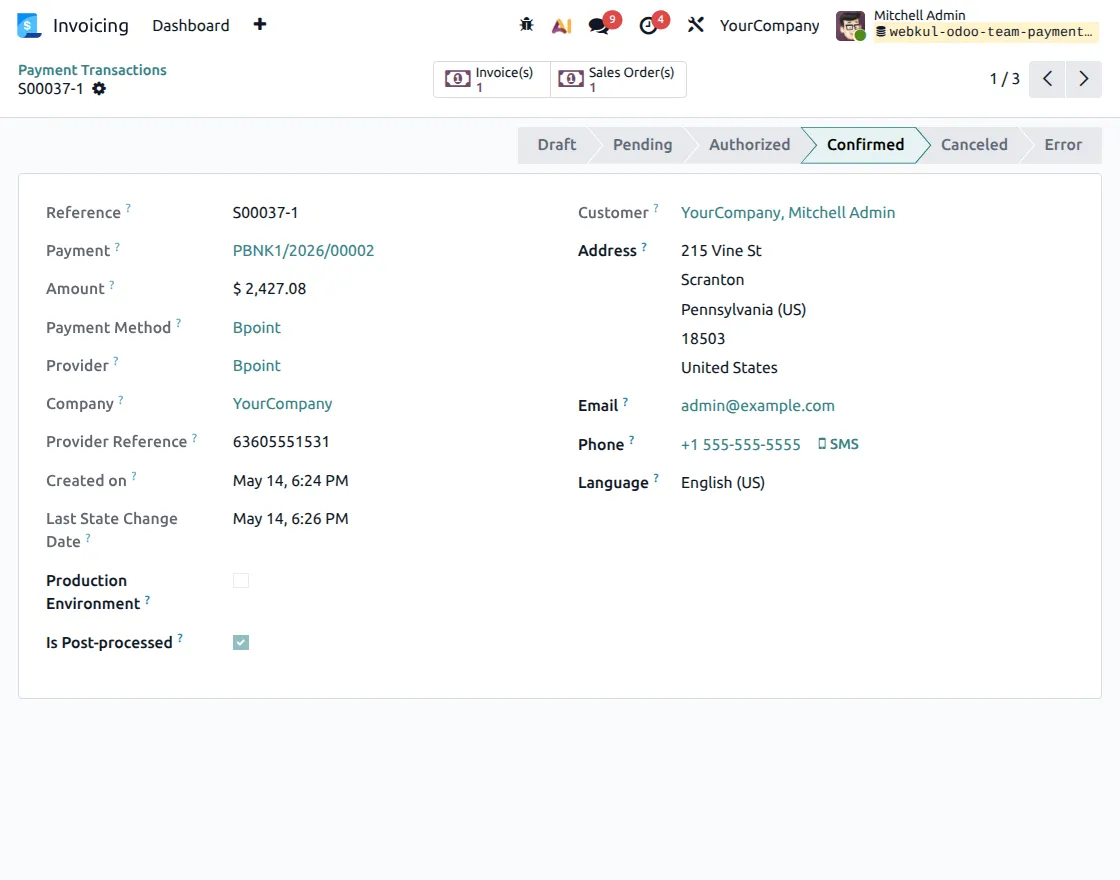
9. Open the payment transaction record to view complete payment details and transaction status. Admin can verify confirmed payments, customer details, provider references and payment information from the backend.
We hope this guide is useful for you! Please share your feedback in the comments below.
If you still have problems/questions, please create a ticket at UV Desk.
I hope this helps. If you have further questions, contact us on our support mail.
Thank you for noticing!!
Current Product Version – 1.0.0
Supported Framework Version – Odoo 19

PakarPBN
A Private Blog Network (PBN) is a collection of websites that are controlled by a single individual or organization and used primarily to build backlinks to a “money site” in order to influence its ranking in search engines such as Google. The core idea behind a PBN is based on the importance of backlinks in Google’s ranking algorithm. Since Google views backlinks as signals of authority and trust, some website owners attempt to artificially create these signals through a controlled network of sites.
In a typical PBN setup, the owner acquires expired or aged domains that already have existing authority, backlinks, and history. These domains are rebuilt with new content and hosted separately, often using different IP addresses, hosting providers, themes, and ownership details to make them appear unrelated. Within the content published on these sites, links are strategically placed that point to the main website the owner wants to rank higher. By doing this, the owner attempts to pass link equity (also known as “link juice”) from the PBN sites to the target website.
The purpose of a PBN is to give the impression that the target website is naturally earning links from multiple independent sources. If done effectively, this can temporarily improve keyword rankings, increase organic visibility, and drive more traffic from search results.