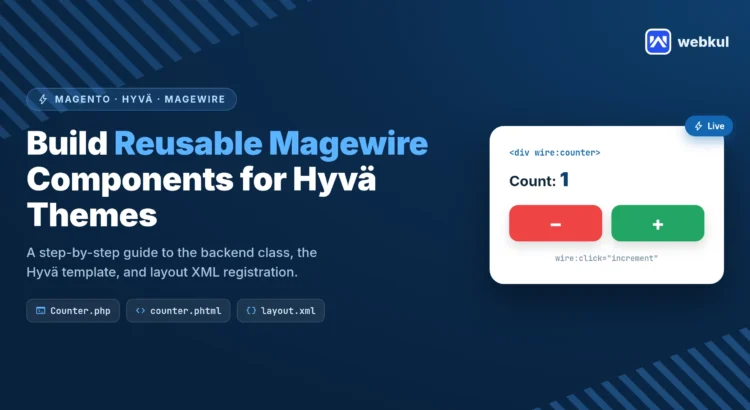
Building reusable Magewire components for Hyvä Themes is one of the cleanest ways to add interactive UI to Magento. On a real Hyvä project, this pattern replaces most of the custom JavaScript we used to write.
Magewire brings server-based reactivity directly to your frontend. So you can bypass complicated tools like Knockout.js or React for most everyday tasks.
In this guide, we will create a simple counter step by step. You will connect backend classes, Hyvä templates, and layout files.
What is Magewire?
Magewire is a Magento adaptation of Laravel Livewire, built for the Hyvä frontend. It keeps PHP classes and Hyvä templates in sync on every request.
On every interaction, Magewire hydrates your components, executes methods, and returns new HTML. Your public property stores state between requests.
Why Reusable Magewire Components Are Important
Reusable components save time throughout your project. You build the logic once, then use it wherever you need it.
This keeps your code consistent and clean. This also makes future updates much simpler.
- Less duplicate code
- Faster development
- Easier long-term maintenance
- Consistent behavior across pages
What You Need Before You Get Started
You need a Magento 2 store with Hyvä Theme installed. The Magewire module must also be enabled.
Basic knowledge of PHP and Tailwind CSS is very helpful. Alpine.js ships with Hyvä, so you’re ready to go.
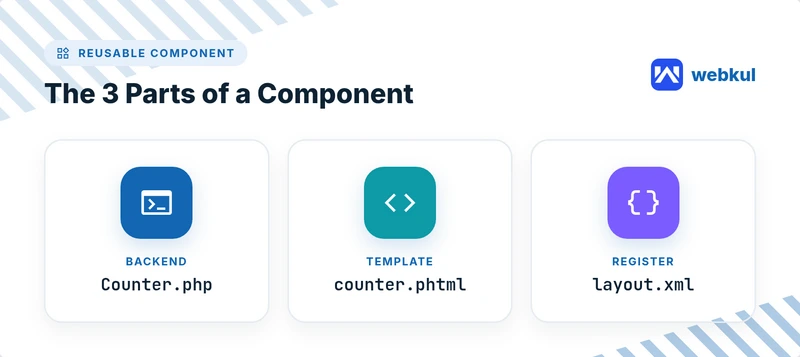
1. Create a PHP Backend Component
Backend classes manage component state. Public properties are automatically synced with the frontend.
Create the file app/code/Vendor/Module/Magewire/Counter.php with this code.
<?php
declare(strict_types=1);

namespace Vendor\Module\Magewire;

use Magewirephp\Magewire\Component;

class Counter extends Component
{
    // Public properties are synced with the frontend
    public int $count = 0;

    public function mount(): void
    {
        if ($this->count === 0) {
            $this->count = 1;
        }
    }

    public function increment(): void
    {
        $this->count++;
    }

    public function decrement(): void
    {
        if ($this->count > 0) {
            $this->count--;
        }
    }
}
The mount() method is executed once on first load. The increase() and decrease() methods execute on every click and update the count instantly.
2. Create a Frontend Template
The template displays data and captures user clicks. Use the Tailwind CSS class provided by Hyvä.
Create the file app/code/Vendor/Module/view/frontend/templates/counter.phtml.
<!-- Single root DOM element is required -->
<div>
    <p class="text-lg">Count: <span class="font-bold"><?= $magewire->count ?></span></p>

    <div class="flex gap-2 mt-4">
        <button type="button" wire:click="decrement" class="px-4 py-2 bg-red-500 text-white rounded">-</button>
        <button type="button" wire:click="increment" class="px-4 py-2 bg-green-500 text-white rounded">+</button>
    </div>
</div>
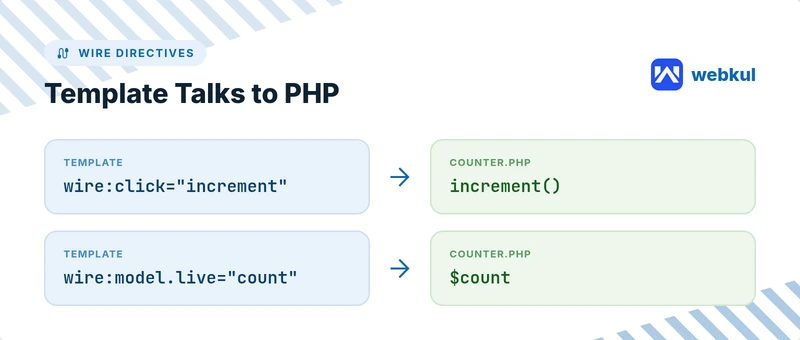
The wire:click command calls your PHP method directly. For text input, take wire:model.live so that the value is bound as the user types.
3. Register Your Reusable Magewire Components in the XML Layout
The final step tells Magento where to render the component. You do this with small layout XML blocks.
<?xml version="1.0"?>
<page xmlns:xsi="
      layout="1column"
      xsi:noNamespaceSchemaLocation="urn:magento:framework:View/Layout/etc/page_configuration.xsd">
    <body>
        <referenceContainer name="content">
            <block name="counter" template="Vendor_Module::counter.phtml">
                <arguments>
                    <argument name="magewire" xsi:type="object">Vendor\Module\Magewire\Counter</argument>
                </arguments>
            </block>
        </referenceContainer>
    </body>
</page>
Now your reusable Magewire component loads on the selected page. You can put the same blocks into any layout.
Tips for Better Reusable Magewire Components
A few small habits make your components easier to reuse.
- Keep public properties small and serializable
- Move shared logic into reusable PHP features
- Add wire:loading states for slower action
- Reach for wire:model.live only where you really need it
Conclusion
You now have a working, reusable Magewire component for Hyvä Theme Development. The same pattern applies to forms, filters, and mini carts.
Start small, then combine your components over time. This approach keeps your Magento frontend fast and easy to manage.

PakarPBN
A Private Blog Network (PBN) is a collection of websites that are controlled by a single individual or organization and used primarily to build backlinks to a “money site” in order to influence its ranking in search engines such as Google. The core idea behind a PBN is based on the importance of backlinks in Google’s ranking algorithm. Since Google views backlinks as signals of authority and trust, some website owners attempt to artificially create these signals through a controlled network of sites.
In a typical PBN setup, the owner acquires expired or aged domains that already have existing authority, backlinks, and history. These domains are rebuilt with new content and hosted separately, often using different IP addresses, hosting providers, themes, and ownership details to make them appear unrelated. Within the content published on these sites, links are strategically placed that point to the main website the owner wants to rank higher. By doing this, the owner attempts to pass link equity (also known as “link juice”) from the PBN sites to the target website.
The purpose of a PBN is to give the impression that the target website is naturally earning links from multiple independent sources. If done effectively, this can temporarily improve keyword rankings, increase organic visibility, and drive more traffic from search results.