Odoo Quality Control Management ensures that each product meets the required standards before undergoing the sales, purchasing, or warehouse process. It simplifies inspections using a quality team, reusable templates, and automated checks.
This module reduces manual errors by implementing clear rules and predefined actions. This makes inspections faster, smoother and easier to manage for a wide range of operations.
With Odoo Quality Control Management, managers can track results through parameters, alerts, and dashboards. This ensures compliance, maintains consistency, and keeps records ready to be audited at all times.
- Build and manage a quality control team with defined roles.
- Create reusable templates for products, categories, or operations.
- Automate QC tasks in sales, purchasing and warehouse workflows.
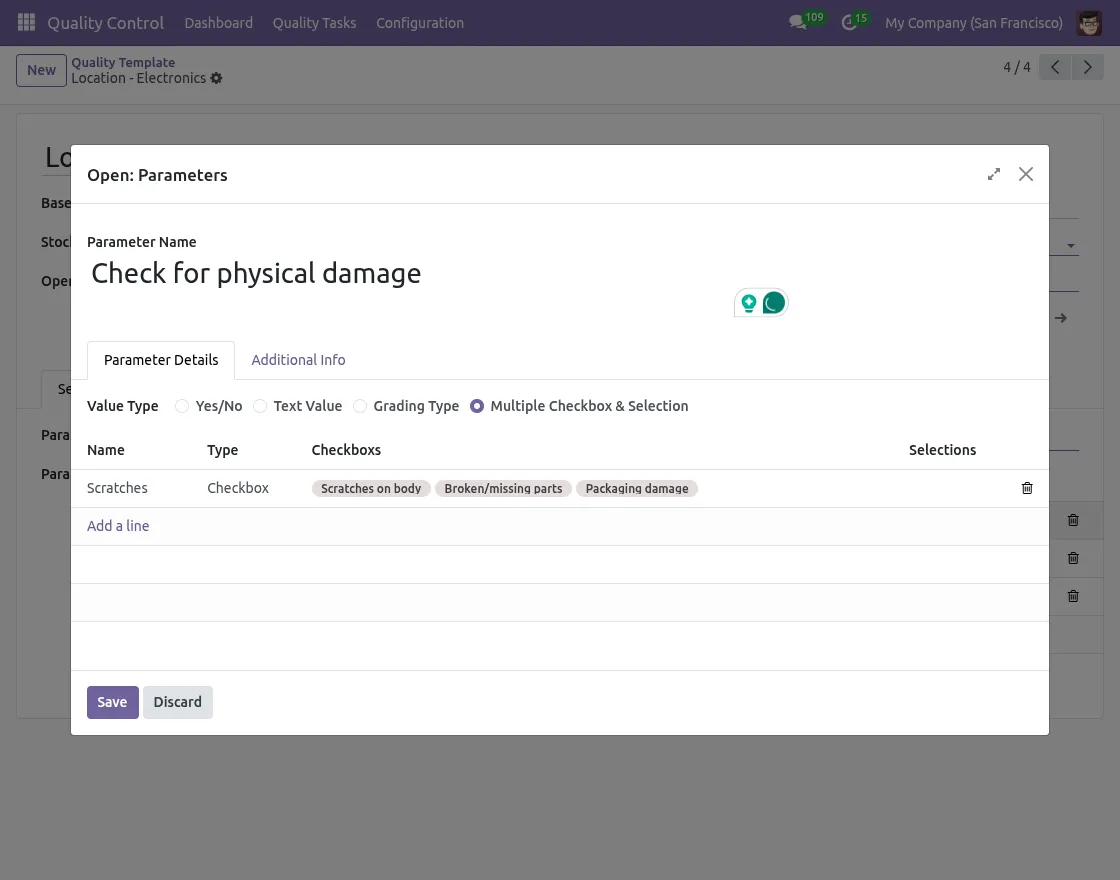
- Define inspection parameters with Yes/No, text, scoring, or checklist.
- Set task priorities and assign responsibilities with rules.
- Configure actions on QC failures such as limiting validation or allowing with warnings.
- Send automatic system notifications or emails in case of failure.
- Conduct multilevel inspections with inspection, approval, and review.
- Track performance with visual dashboards and reports.
- Maintain audit-ready inspection history for compliance.
- Once you purchase the App from Webkul store, you will receive a link to download zip module submit.
- Extract the files on your system once the download is complete. As a result, you will be able to see a folder named- ‘wk_quality_management‘
- Copy and paste this folder inside your folder Odoo Add-ons Path.
- Now, open the Odoo Application and click on the Settings menu. Here, click Enable Developer Mode.
- Then, open the Application menu and click ‘Update Module List.’
- In the search bar, clear all filters and search for ‘wk_quality_management‘
- You will be able to see the module in the search results. Click on ‘Activate‘ to install it.
After installing Odoo Quality Control Management, go to Quality Control → Configuration.
Here, you will find all the configuration options needed to set up Odoo Quality Control Management.
1. Create a Quality Team
- Navigate to Quality Control → Configuration → Quality Team.
- Create a new team and assign roles to team members.
- Team members include:
- Team Manager – manage and monitor the QC team.
- Inspector – initiate QC tasks and perform inspections.
- Approve giver – approve or reject QC tasks, can submit tasks for inspection or review.
- reviewer – perform final review and close QC tasks.
2. Create a QC Template
Go to Quality → Configuration → QC Templates and set up your template.
- Select the Pickup Type (Sales or Delivery) and apply it to the product or category.
- Determine the priority level (High, Medium, Low).
- Assign a QC team and configure failure actions (limit or allow with alerts).
- Set the notification type as system alert or email in case of failure.
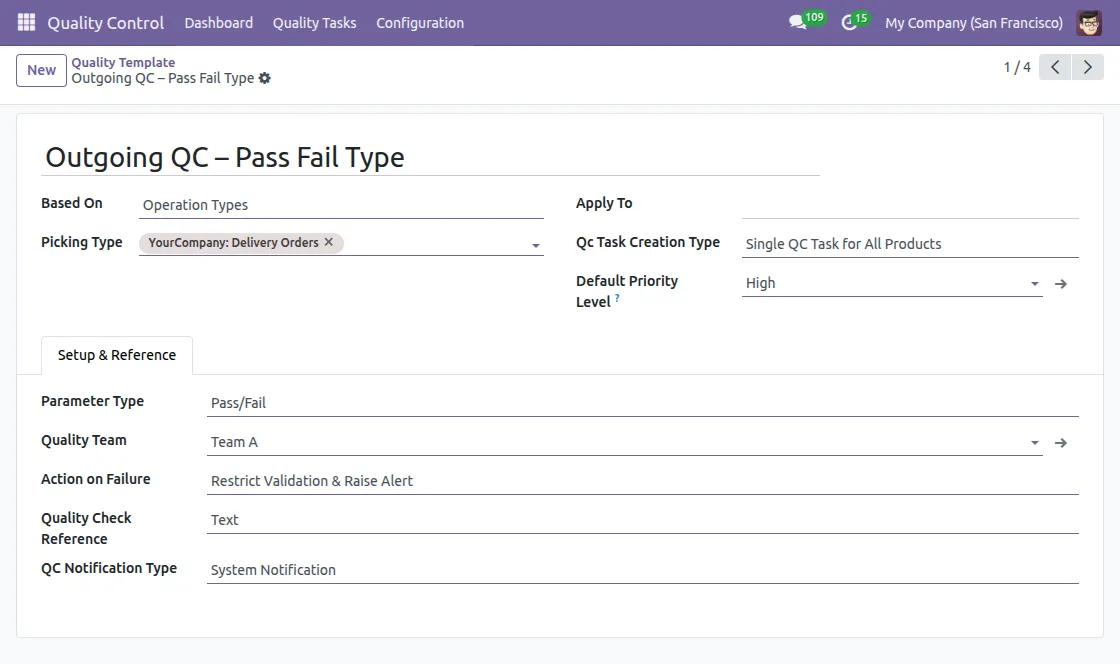
- Create or select parameters to determine how the probe is checked. You can set it as a simple Pass/Fail value or use custom pass and fail conditions based on specific rules.
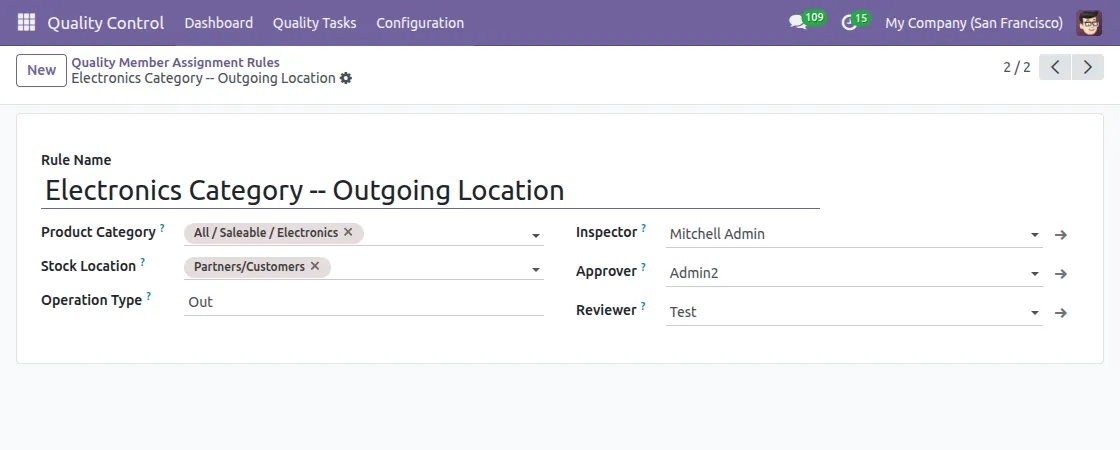
3. Create Member Assignment Rules
Configuration → Member Assignment Rules.
- Specify a Rule Name to identify the setting.
- Select Product Category, Stock Location and Operation Type (e.g. Outbound, Inbound).
- Assign members to roles such as Inspector, Approver, and Rule reviewer.
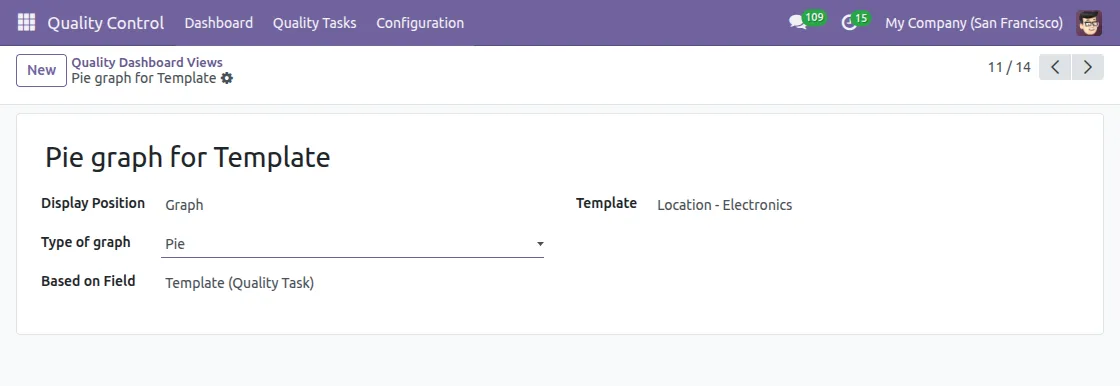
4. Set the Dashboard View
Navigate to Configuration → Dashboard View to configure the results display.
- Choose whether to display the data as a Graph or Header.
- Select the field to base the dashboard on.
- Specify the inspection status, such as Draft, Awaiting Approval, Passed, Failed, or Under Inspection.
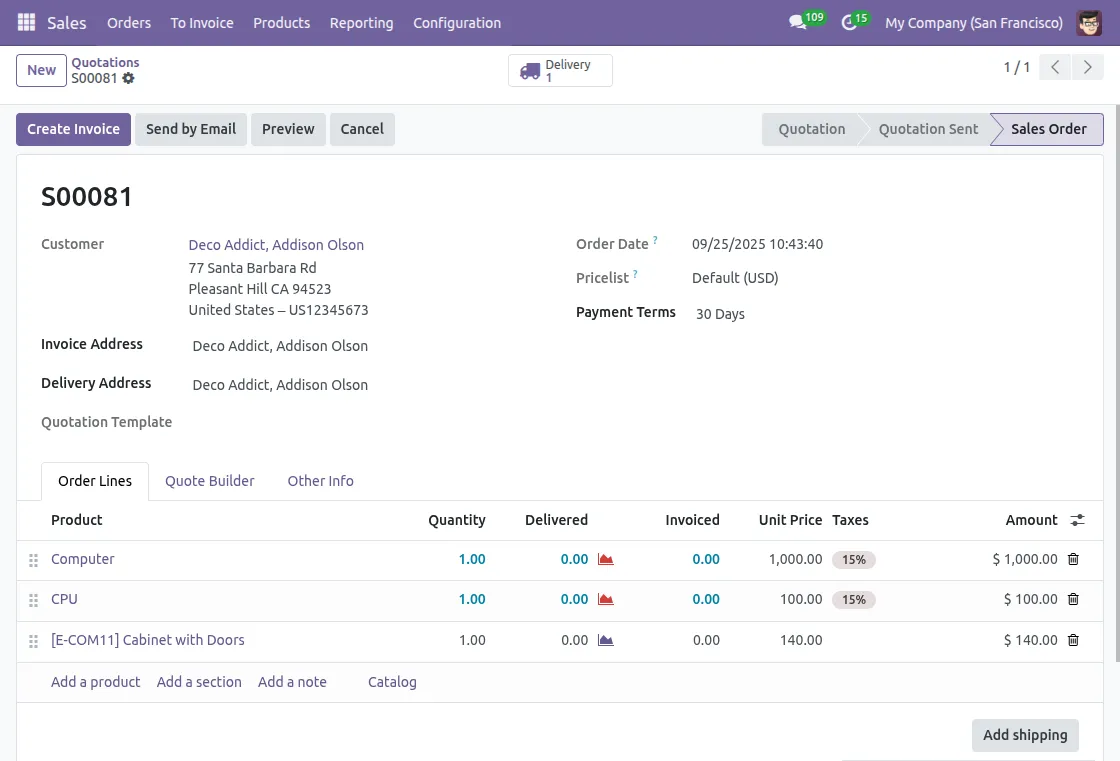
5. Create and Confirm Sales Orders
Go to Sales → Orders → Create New.
- Fill in customer details and add products to the order line.
- Once finished, click Confirming to confirm sales orders.

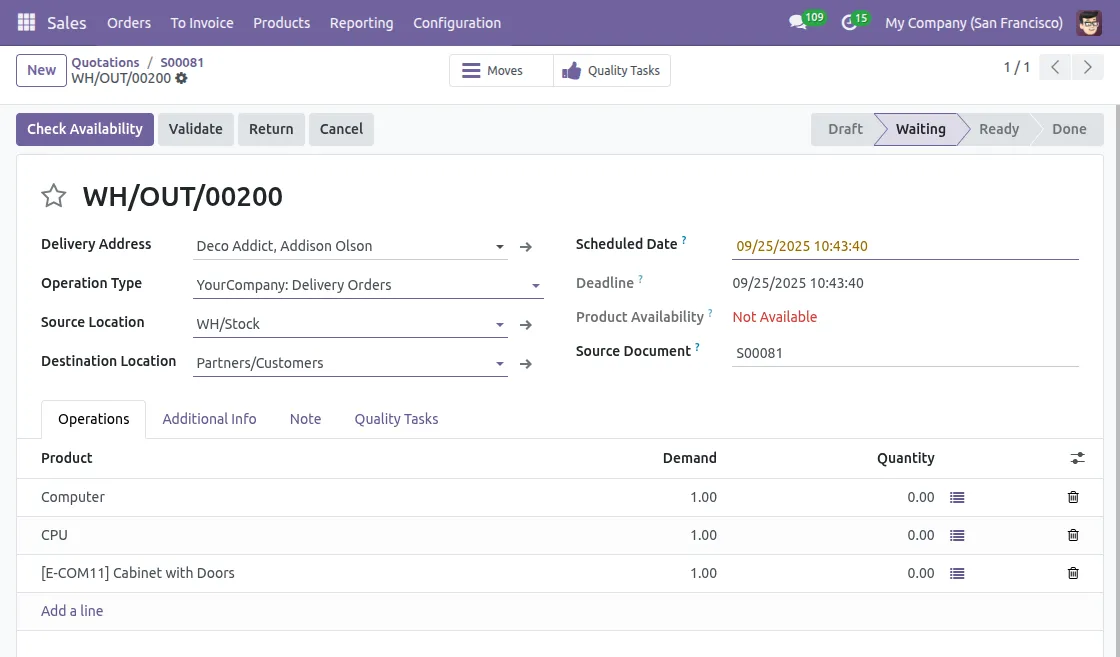
6. Trigger Shipping and QC Tasks
After confirmation, a Delivery button appears at the top of the sell order.
- Click this button to generate a shipping order.
- QC tasks are also triggered automatically as per configuration.
7. QC Tasks and Validation Buttons
After clicking Delivery button, a QC duties button appears.
- By clicking on it, you can see the QC tasks that must be completed before validation.
- Once all tasks are completed, you can validate the delivery by clicking Confirm button, according to the configured rules.
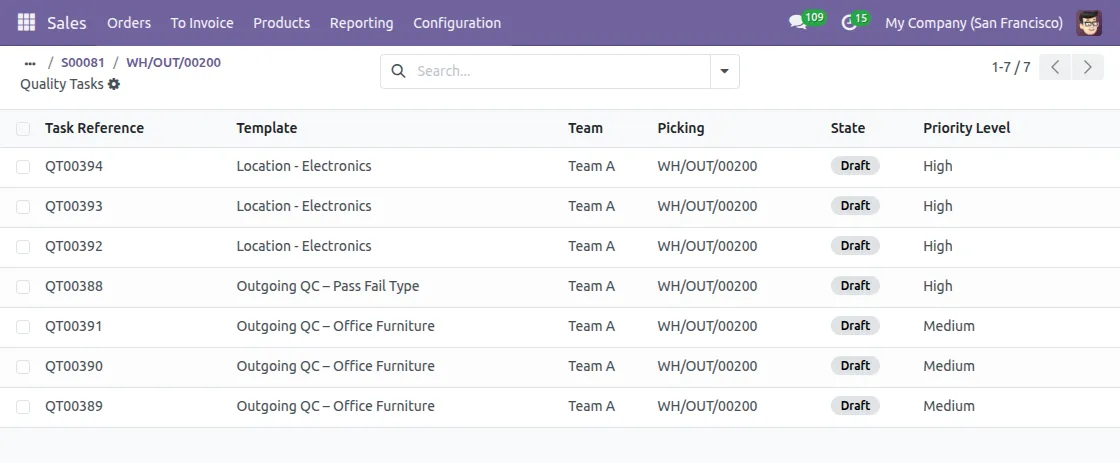
8. Review Assigned QC Tasks
Open QC duties register to check the tasks generated for this delivery order.
- The list shows the task reference, template, assigned team, retrieval reference, status, and priority level.
- The inspector can now start performing the assigned tasks.
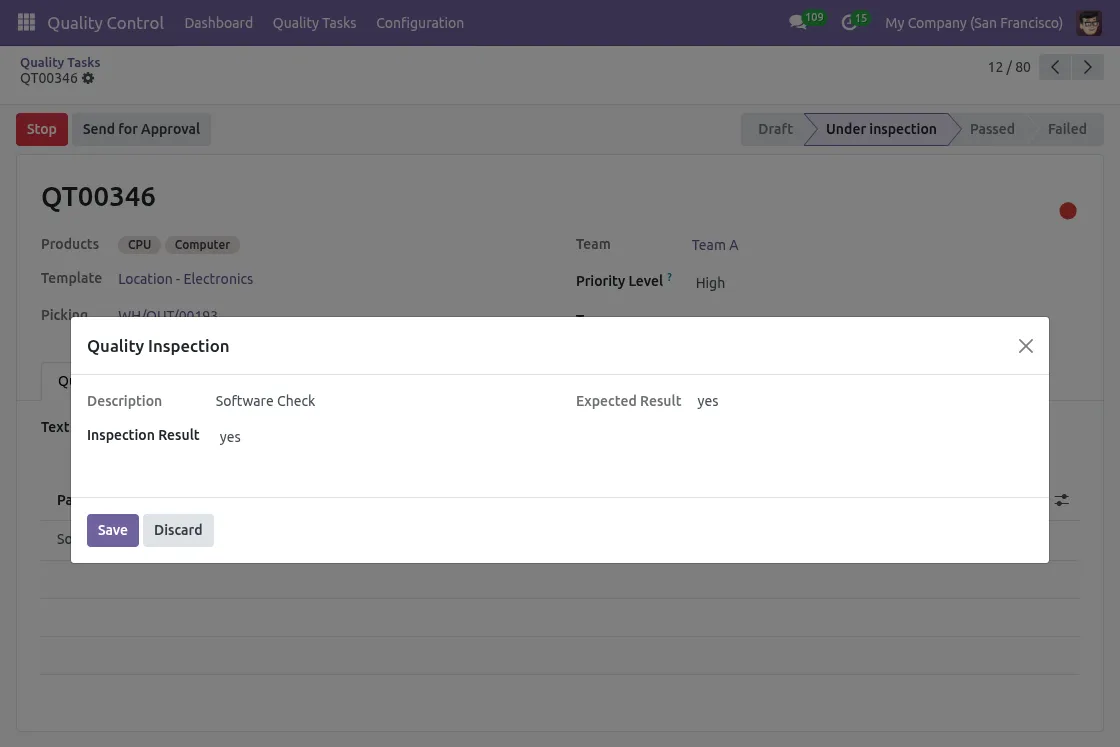
9. Role of Inspector
That Inspector initiates QC tasks and performs checks according to specified parameters.
- Record outcomes such as pass/fail, assessments, or completion of checklists.
- Send QC tasks forward for approval.
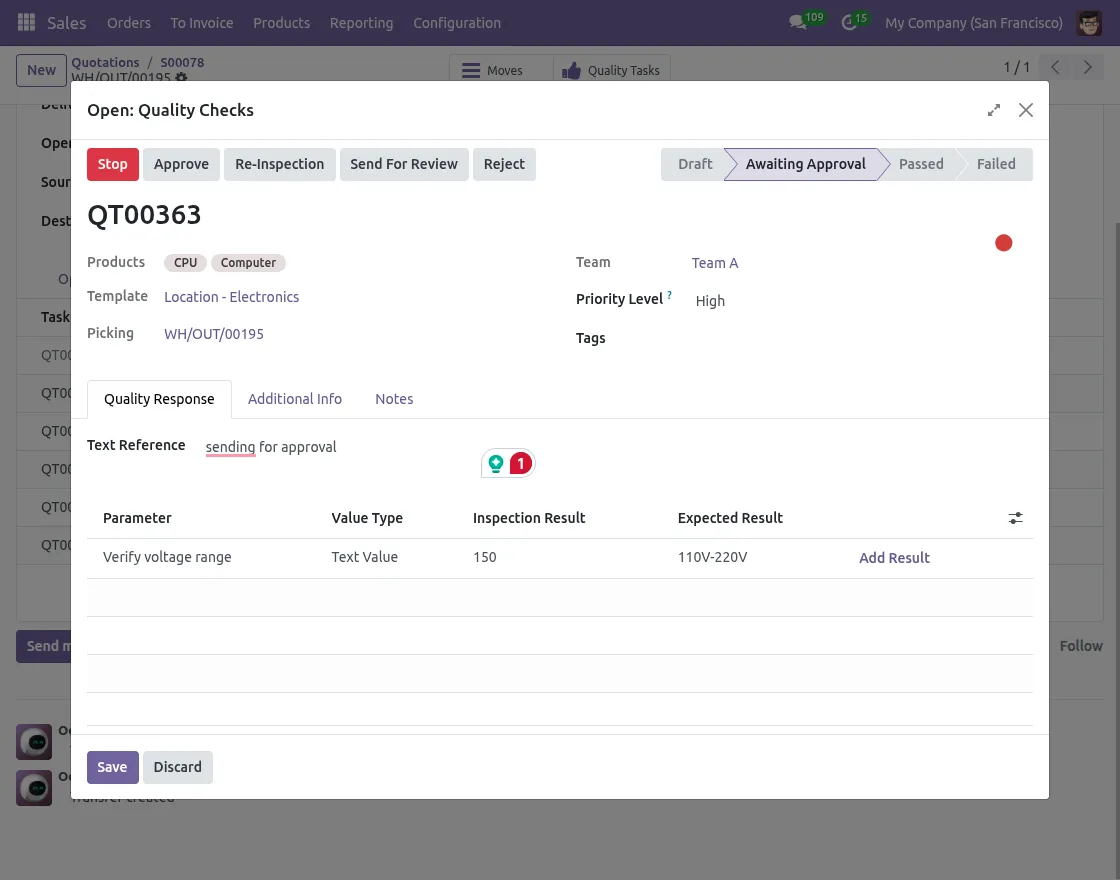
10. Role of the Approver
That Approve giver review the results submitted by the inspector.
- Approve if the results meet standards.
- Reject or resubmit assignments for rechecking if problems are found.
- You can also forward tasks to reviewer for final review.
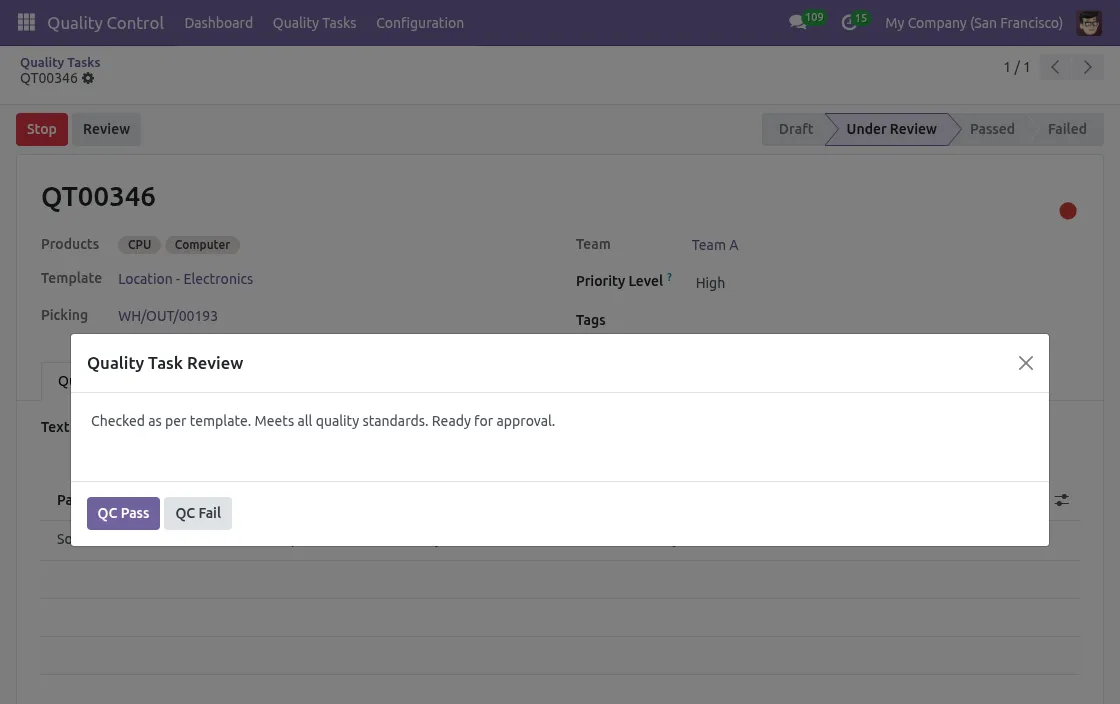
11. Reviewer Role and Validation
That reviewer receive assignments from approvers for final inspection.
- Confirm QC results and ensure compliance.
- Mark a task as passed, failed, or closed.
- Once the review is complete, Sales Orders can be validated by clicking Confirm knob.
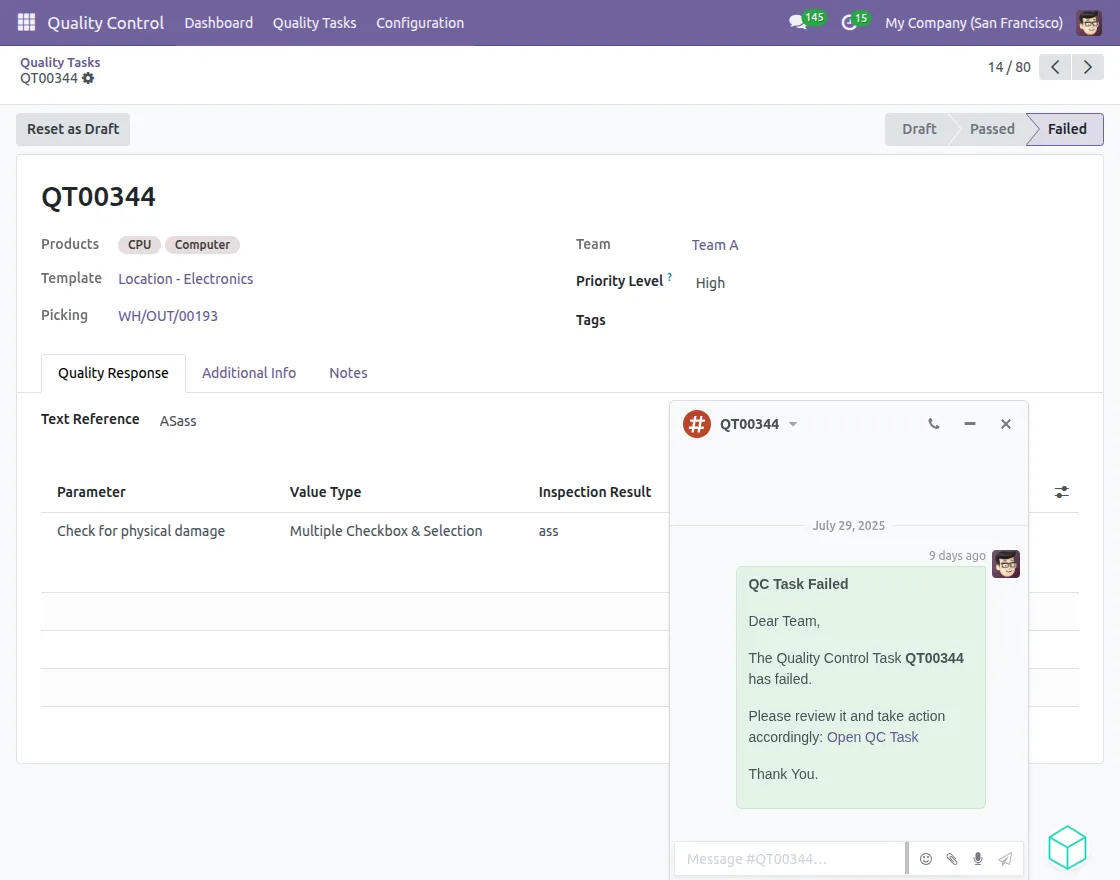
12. Failure Notification
If a QC task fails, a notification is sent automatically – either as a system notification or a e-maildepending on the configuration.
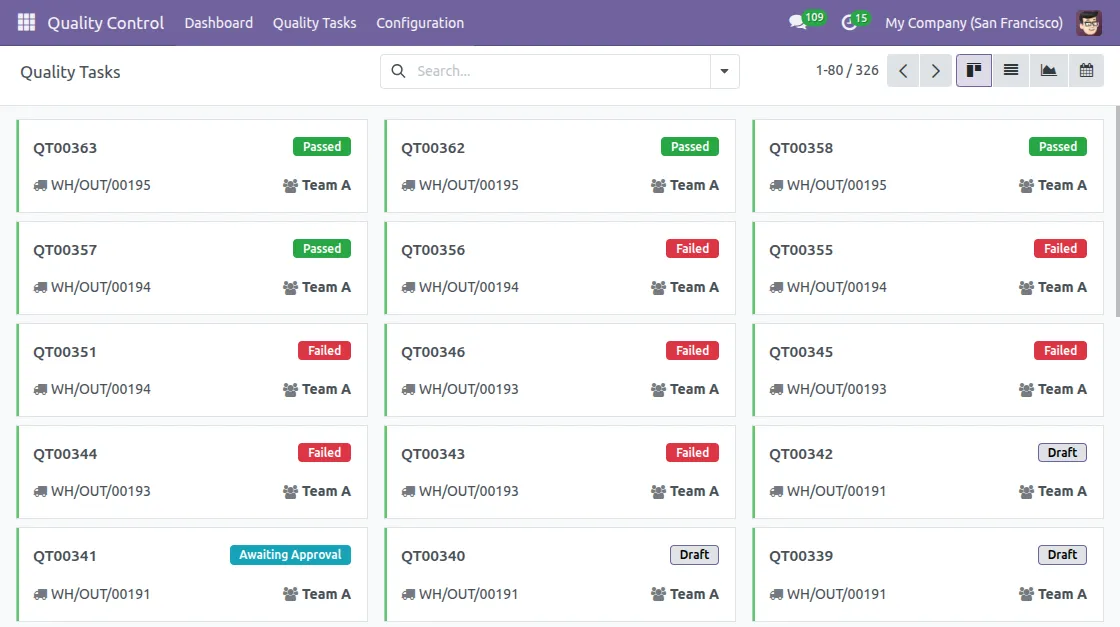
13. Track Quality Tasks
Navigate to Quality Control → Quality Tasks.
- Here, you can see all the quality tasks produced along with their status, assigned teams, and other important details.
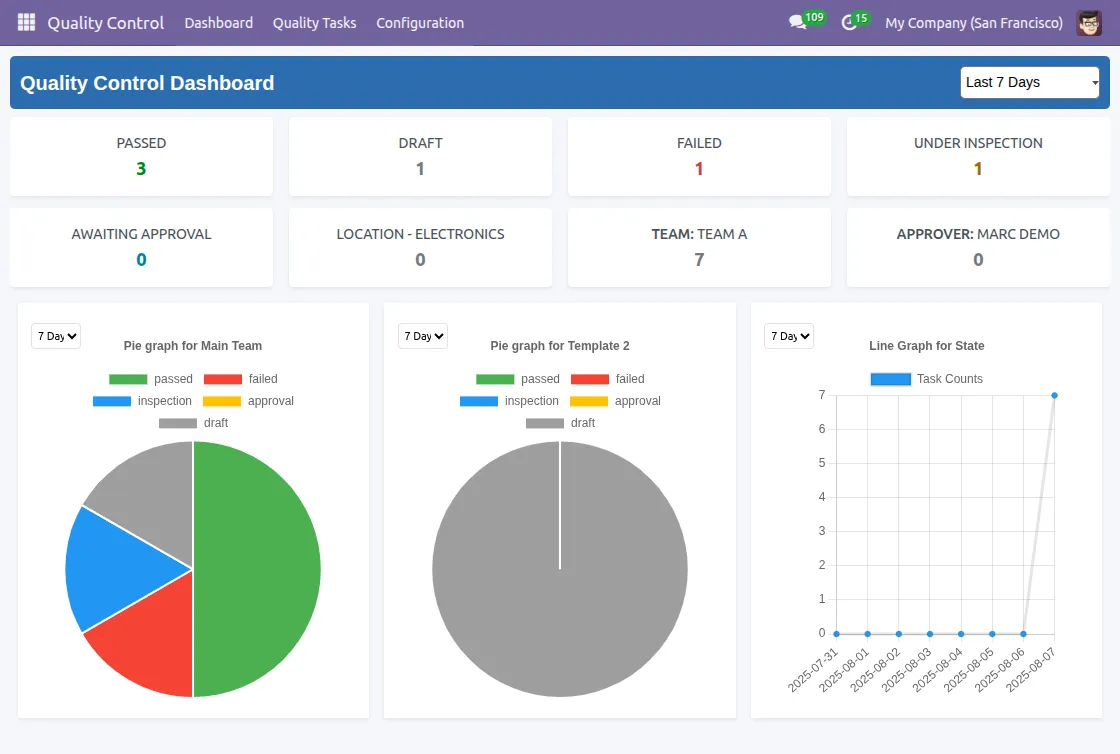
14. Dashboard Analytics
Go to Quality Control →Dashboard tab to analyze quality metrics.
- View graphs, charts and performance indicators based on dashboard configuration.
- Track inspections across drafts, in review, pending, pass, or fail status.
We hope this guide is useful for you! Please share your feedback in the comments below.
If you still have problems/questions, please create a ticket at UV Desk.
I hope this helps. If you have further questions, contact us on our support mail.
Thank you for noticing!!
Current Product Version – 1.0.0
Supported Framework Versions – V17.0, V18.0, V19.0

News
Berita Teknologi
Berita Olahraga
Sports news
sports
Motivation
football prediction
technology
Berita Technologi
Berita Terkini
Tempat Wisata
News Flash
Football
Gaming
Game News
Gamers
Jasa Artikel
Jasa Backlink
Agen234
Agen234
Agen234
Resep
Download Film
Gaming center adalah sebuah tempat atau fasilitas yang menyediakan berbagai perangkat dan layanan untuk bermain video game, baik di PC, konsol, maupun mesin arcade. Gaming center ini bisa dikunjungi oleh siapa saja yang ingin bermain game secara individu atau bersama teman-teman. Beberapa gaming center juga sering digunakan sebagai lokasi turnamen game atau esports.